Guitar Tales
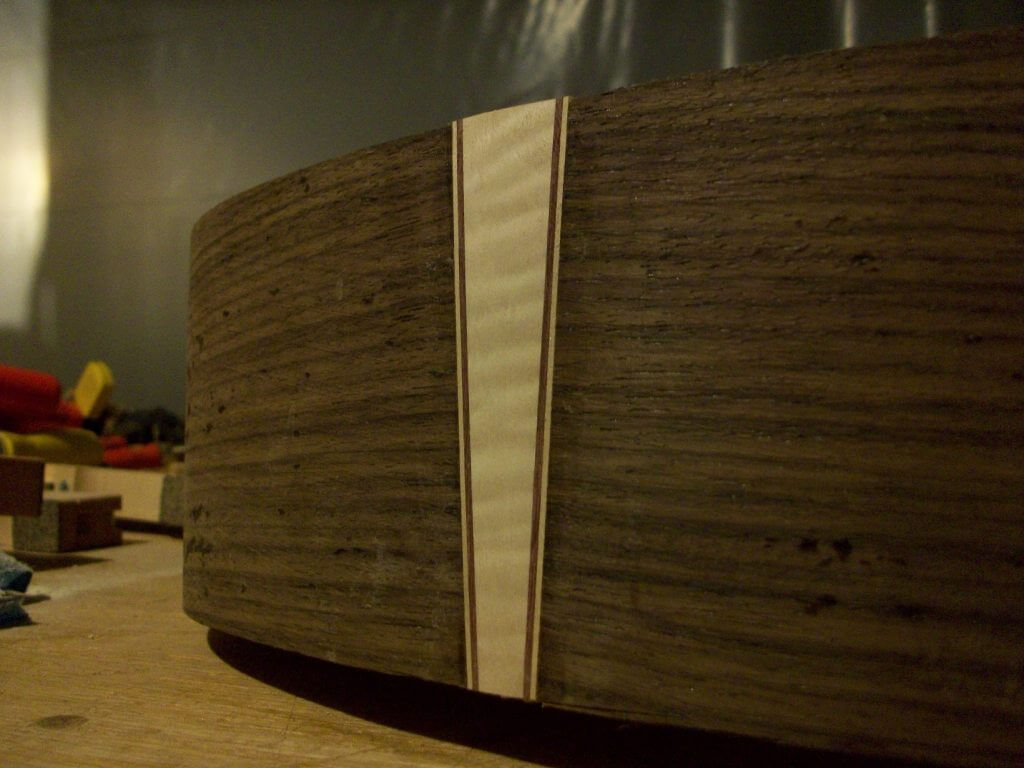 I have been intending to do this for a long time, but for the last 4 guitars, I used a razor blade and a chisel to inlay the tail stripe on the butt of the guitar. Using a wedge as the tail's decoration on a guitar has two advantages for the luthier. 1) It's easier to get a perfect fit. You just keep sliding it in and sanding a little here and there until all sides are flush. 2) Because one end is smaller than the other, it helps remind you which side is the top and which side is the back. You laugh (or maybe not) but I am sure there are luthiers out there who have glued the top on the back and visa versa.
This wedge idea is another asthetic choice (in addition to curly maple binding) that has transfered from my experience at Gallagher Guitar Co. The major impetus for the change was my memory of a fixture we used to route the channel. It was fast and cut the channel perfect every time. I have wanted to duplicate the fixture for quite some time, and Monday, I wasn't feeling very energetic - I was a bit more in the design and deep reflection state of mind. So I decided to give a design I had in my mind a go .
.
The top is made of plexiglass with guides for the router base bolted in place, and an opening in the middle for the router bit. It works pretty well. You just clamp the back overhang of plexiglass to your workboard or bench, slide the guitar body (tail up) into the fixutre, and tighten the wooden screw against the tail block of the guitar body until the body is held firm in the fixture. After everything is lined up and held firmly, then just flip on the router and cut the channel.